Showing posts with label One Room Challenge. Show all posts

One Room Challenge Update

Today the lovely Linda at Calling It Home is hosting the One Room Challenge Now, where participants of past One Room Challenges can show updates they've made to their rooms.


In the last One Room Challenge, I tackled my dining room-


You can see all of the photos here. 


Unfortunately, the painting I had commissioned by Linda Donohue to hang above the mantle wasn't done in time for the reveal. But by the end of November it had arrived!


I absolutely love the painting! The colors are fabulous and when the afternoon sun hits it, the painting glows...stunning! Linda was a pleasure to work with and she has new paintings in her Etsy shop ... I've got my eye on her Pink Abstract Seascape!
 
Now head on over to Calling It Home to take a peek at what everyone else has done!


As always, feel free to leave a comment or ask questions in the comments section below.


Need help creating a home you love? Contact me about our design services.

Dining Room Table Tutorial


I've had several inquiries as to how we made our table, so here's the tutorial...kind of.  I say this because in the middle of making it I got sick, so my husband took over, and the step-by-step notes I had been diligently taken fell by the wayside. But hopefully this will give you some idea. 
Here is the original table-


To make the new tabletop, we alternated 3 2x10's and 2 2x6's running down the table.  These we cut to 66".  The end cap pieces are 2x6's.  The width of the table is 41".  Since we used the existing table base,  we had to work with those measurements.  On the sides of the table, the top overhangs the base 2 3/4".  On the ends it overhangs 5 1/2".  My husband assembled the tabletop using screws, wood glue and wooden dowels.  He built the table late one night down at his shop, so I wasn't there to take notes on everything he did.  Knowing I had a few other projects for him to do, I didn't dare ask him to take the time to write everything down...got to keep the help happy! :-)  But Ana White has a great site here that offers lots of detailed plans on building tables. Once assembled,  I filled the holes, sanded, sanded, sanded, and wiped it down.  Then we went "psycho" on it...hitting it with various tools to create dents and scrapes to make it look "reclaimed".  Jim had an antique square nail that he hammered in across the boards, then pulled out, leaving the holes.
 
 
Meanwhile, I was on the experimental quest to find the perfect stain color.  While I am known for taking a paintbrush to anything and everything, this was my first attempt at using stain.  I was a little nervous, so a Saturday afternoon was spent trying different combinations out on scrap boards.
 
 
Definitely start out with a pre-stain wood conditioner. It prepares the wood for staining and allows the stain to go on evenly.  Don't skip this step!  I applied it with a brush.
 
 
I started out with Minwax Special Walnut and Weathered Oak.  I also tried Classic Gray, but that was much to gray, as you can see on the left board in the photo below.  The board on the right shows the stain before I wiped off the excess.


After trying different layering options- Special Walnut on Weathered Oak, two coats of Weathered Oak, Special Walnut on Classic Gray, this is what I came up with:  I lightly brushed on Special Walnut and let it sit for 8 minutes, then wiped off the excess with a clean cotton rag.  After allowing it to dry (follow the directions on the can for drying time), I went over it with the Weathered Oak, leaving it on for 8 minutes then wiping off the excess.  I would definitely recommend testing your stain on large boards to give you a good idea of what it will look like.
 
It was at this point I got sick, and my husband offered to stain the table.  I'm not sure if he applied the stain on thicker or left it on longer, but it came out quite a bit darker than the sample piece. 
 
 
So I tried applying a coat of Classic Gray, but that left the table looking chalky and flat.
 
 
You can also see that it's kind of splochy. So I sanded it down, but was still determined to get it lighter.  On a trip to Lowes, I found Rust-Oleum's wood stain in Driftwood (sorry- no photo).  Thinking that a brush would apply too much of the stain, I rubbed a small amount on the table with a clean rag.  While it didn't lighten the table, it did tone in down a little and gave it a faded look. It also got rid of the orange undertones.  On a side note, I wonder what the Driftwood stain would look like by itself...if you happen to try it, send me a pic! 
 
 
Finish off with this...Minwax Helmsman Spar Urethane in Clear Satin.
They recommend 2-3 coats, sanding between each one.
 
 
 Throughout the staining/drying process, I took the shiny white table legs, gave them a good sanding, and applied two coats of Sherwin Williams Dover White in eggshell.


I learned from this project how important it is to write everything down, making notes on every step. You think you'll remember, but you don't!  And I need to take more photos.  I thought I had plenty of  photos of my sample boards, but between brushing on the stain, keeping an eye on the time and recording what I had put on each board, I forgot to take pictures.  This being our first staining project (and first time making a table!) I think it came out pretty well.  I'm definitely up for pulling a can of stain out in the future for another project.
 
For those of you who are planning on trying something like this, I hope this helps.  If you have any other questions, leave me a comment below.  And be sure to send me a photo of your finished project! I'd love to see what you're working on!


Need help creating a home you love? Contact me about our design services.
 

One Room Challenge- Source List

As promised, I'm back with my source list for the dining room redo I did for the One Room Challenge.  Thank you everyone for your positive response and kind words...it's been overwhelming! I am so happy with the way the space came together, and am just impatiently waiting for my artwork to arrive from Linda Donohue to finish off the space...it will be the icing on the cake!


Wall Paint:  Benjamin Moore Cotton Balls
Molding, trim and mantle Paint:  BM Decorator's White
Rug: Ballard Designs Herringbone Natural Fiber Rug (Just now I couldn't find the link...sold out perhaps?)
Curtains: Pottery Barn (already had)
White Chairs: Purchased 9 years ago here
Wicker Chairs: Home Goods
Pillows: Made from John Robshaw's Mani-Indigo fabric
Chandelier: Pottery Barn Graham chandelier
Green glass bottles: The Spotted Cod in Sandwich, MA


Hutch: A Craig's List find. Painted it BM White Dove, back is BM Palladian Blue.  Door knobs from Lowe's.
Mercury Glass Jars, shell balls, photo frames and large piece of coral: Home Goods
Green vintage books:  Etsy
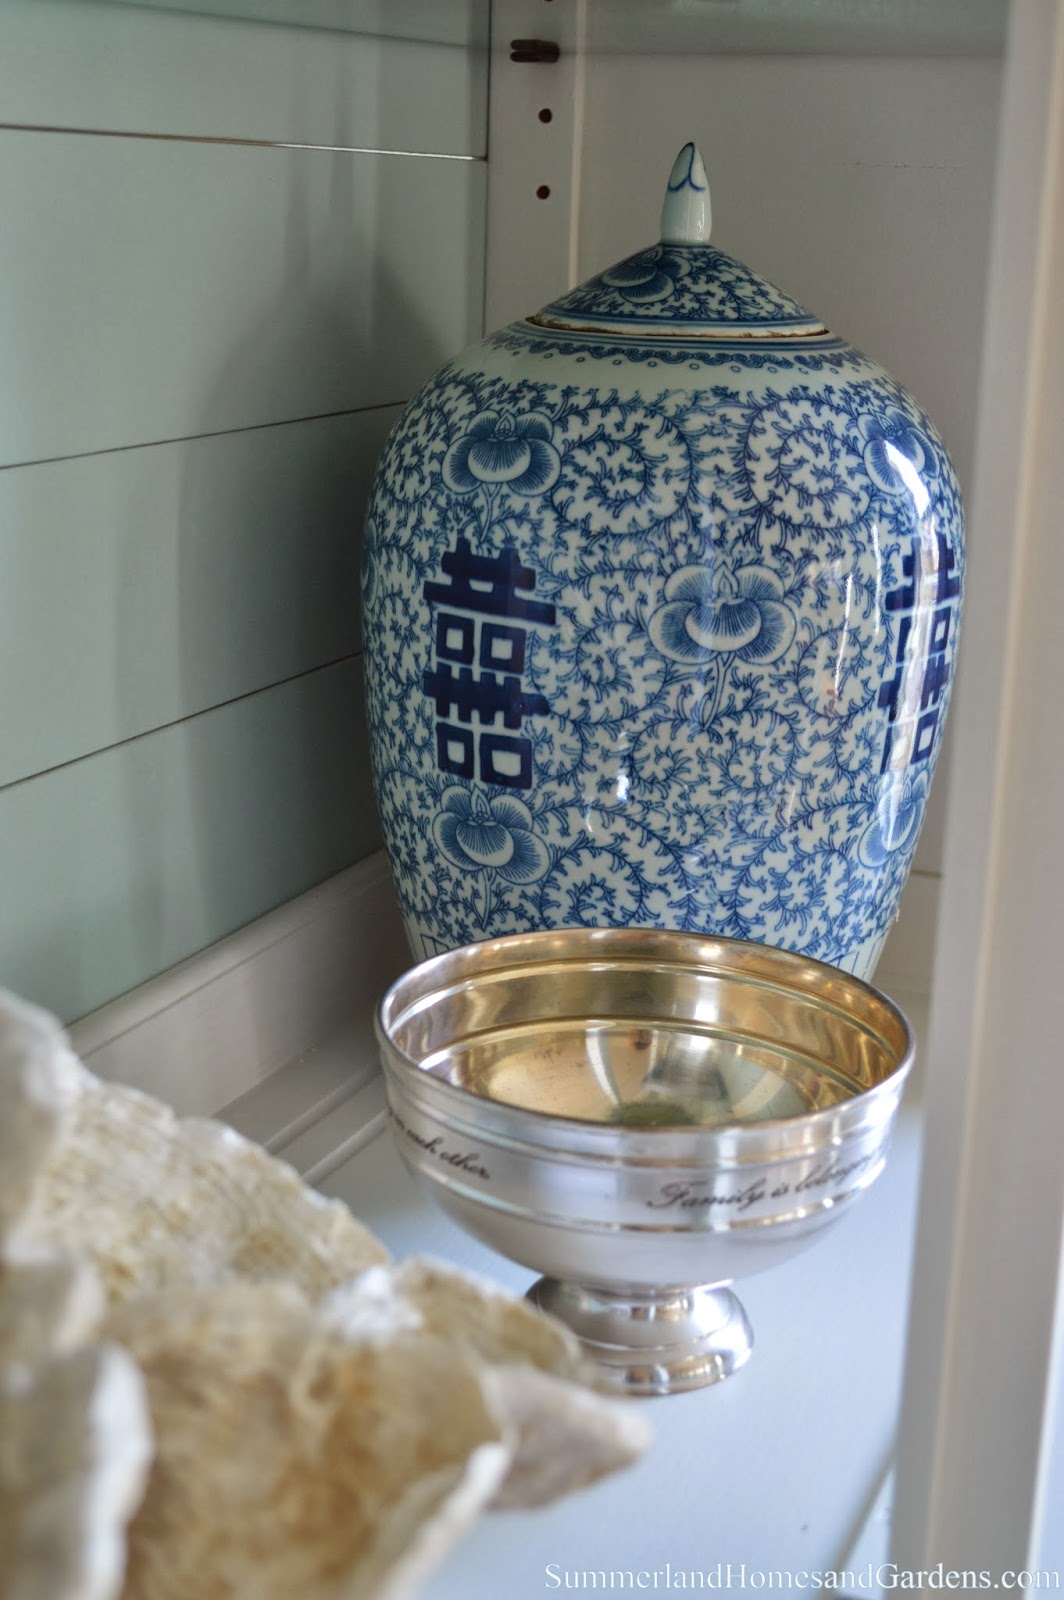
Silver footed bowl and faux grass in white pot: Pottery Barn
2 Aquarium coral (that I spray painted white): PetsMart
Blue Ginger Jars: Wisteria
Anything not listed, I already had.

Gray cabinet: Purchased years ago from Pier One, painted it BM Silver Half Dollar with Antiquing Glaze applied after.
Wooden screen, green lamp and mercury glass dish:  Home Goods
3 Faux plants and wicker baskets on mantle: Ikea

 
Wooden Lantern (Broyhill) and wicker baskets: Home Goods
Blue & white jars: C Wonder
White oval platters:  Martha Stewart at Macy's
White urn: antique


Silver Candlesticks, wicker chargers, wine glasses: Ikea
Plates: Martha Stewart at Macy's
Napkins & Rings: Pier 1
Burlap Fabric for table runners: Walmart
Round basket in front of mantle: Target
 
I think that's everything...I still owe you a tutorial on our table, so that will be coming soon.


As always, feel free to leave a comment or ask questions in the comments section below.


Need help creating a home you love? Contact me about our design services.here
 

One Room Challenge: Week 6...The Reveal!


Thanks for joining me today for my dining room reveal!  For the past six weeks I have been participating in the One Room Challenge, hosted by the lovely Linda at Calling It Home.  Designers, bloggers and DIYers each took up the challenge of transforming a room in six weeks.   Six weeks sounds like plenty of time, but let me tell you- it flew by! Today I'll be sharing lots of photos of the completed room, and over the next few weeks I'll share my sources and tutorials, so keep checking in! 

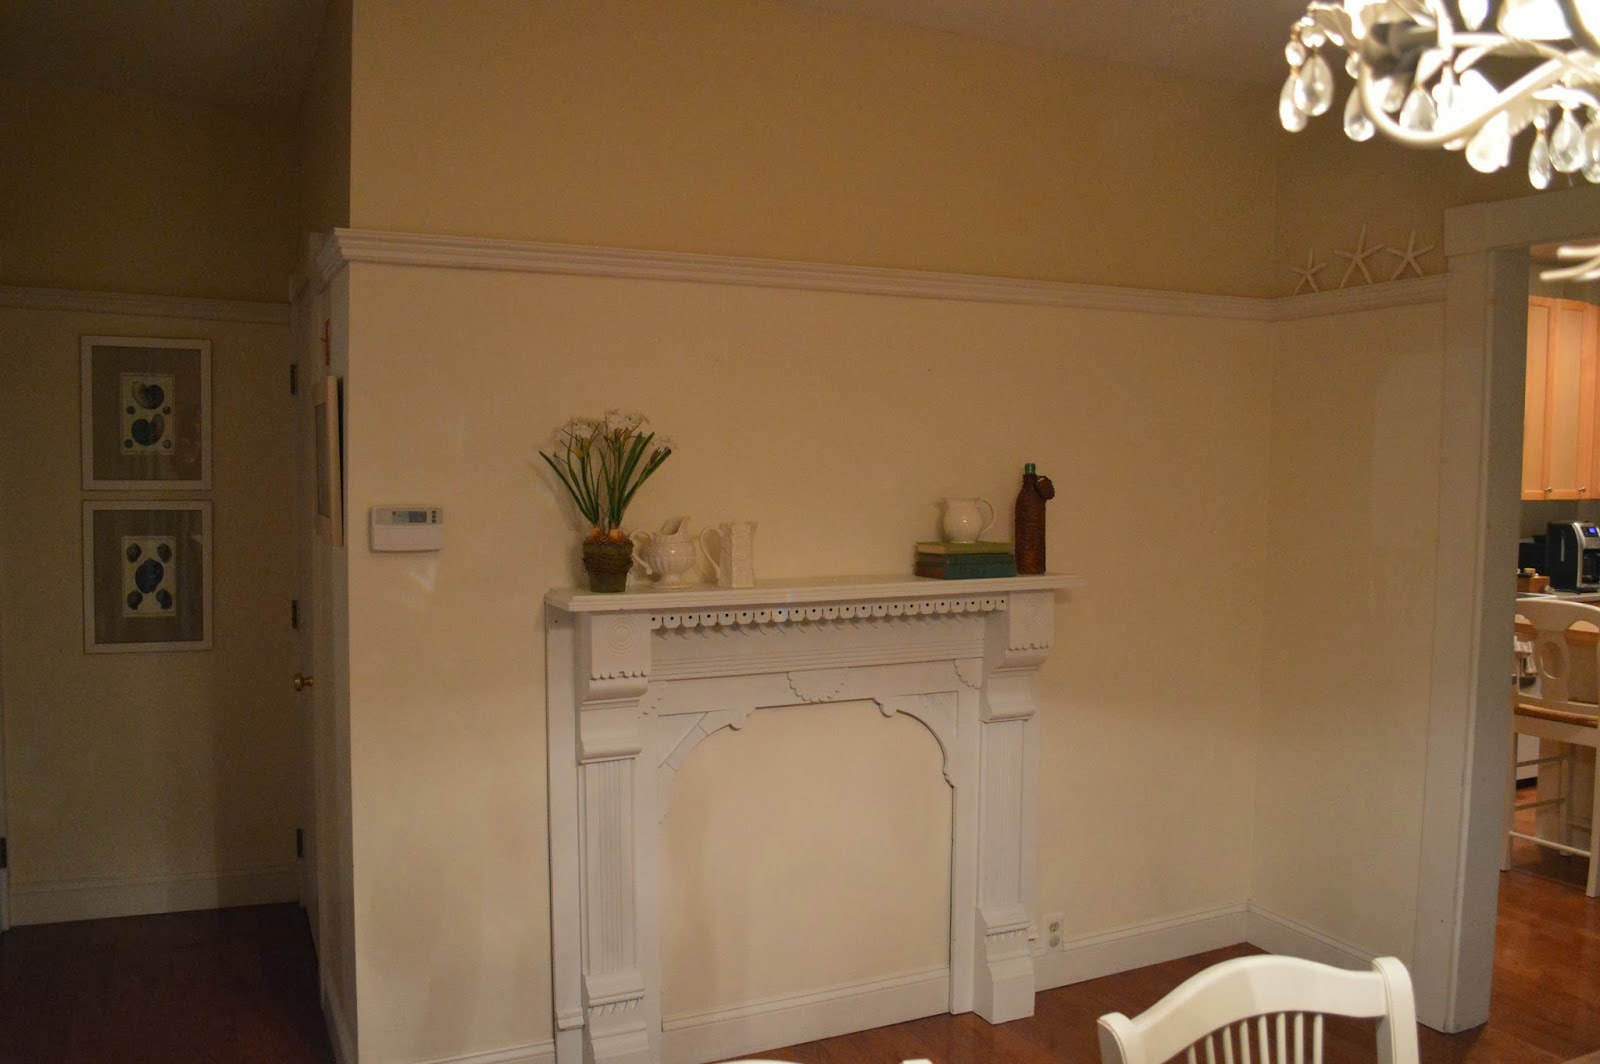
As a reminder, here are the before pictures:


And here it is now:


See the artwork in the little hallway to the left? In the top one you can see the reflection of a large ladder...my husband had the idea of setting up the ladder outside the dining room window and shooting in...a brilliant idea!!
 
I should be getting my artwork for above the mantle from Linda Donohue soon.  It will be something like this...

 
Green Landscape Seascape Original Painting- Green Landscape 16 x 20
 
Did you notice it's a new mantle?  A few weeks back I decided that the mantle we had just wouldn't go with the new items in the room- it was too shabby chic/feminine with it's scalloped trim and floral motif.  So I informed sweet-talked the Mr. into building a new one.  Plan B was to not have a mantle at all, but since we don't have a fireplace I like having a "fake" one as it adds architectural interest to the room and besides, we need somewhere to hang our Christmas stockings!  (A crime I think- a house not having a fireplace, especially when we live in a 100+ year old house.  I know at some point they must have had one- I have two chimneys- but it was either taken out or boarded up) Anyway, here's a closeup of the mantle my husband built.  When we went to pick out the moldings and trim, I was planning on getting dental molding, but this basket weave caught my eye, and I thought it tied in nicely with my coastal room.


We replaced the white table top with planks that we distressed and stained, and swapped out two of the white chairs for wicker ones.
 
 
The pine hutch was a Craig's List find that I painted and replaced the mirrored back with wood planks.  The piece came with upper glass doors as well, but after styling the shelves I decided it looked better without the doors.


Next to the mantle I put this gray shuttered cabinet, which came from the kitchen. 


Here is a view from the living room:
 
 
And here's looking into the living room from the dining room. 
 
 
 Our dining room gets a lot of traffic and activity, as you have to walk through it to get to the front door, the living room and the kitchen.  We eat in the dining room every day, and homework and projects get done here.   


Here are some pictures that I took at night: 


I am very happy with the way it all came together, and even though the original mantle and black hutch were replaced with larger pieces, the room actually feels bigger.  Painting the walls the same color above and below the molding makes the walls look taller and the room less choppy. And I love how the colors coordinate with the living room, making a seamless transition from one room to the next. 
 
A big "Thank You" to:
*Linda, for hosting the One Room Challenge 
*My mother-in-law, for helping me paint the room one Saturday
*My three kids, for dealing with a MIA Mom, cereal for dinner, and no clean laundry. 
*My husband, who has been so supportive and helpful throughout the last six weeks.  He remade our table, drove 2 1/2 hours to pick up the hutch, built the mantle, hung my chandelier, switched out electrical plugs and door knobs, survived several meltdowns (of mine), picked up dinners, washed dishes (our dishwasher broke several days ago), transported kids, and whenever I asked a design related "What do you think?" question,  he responded with "Whatever you want, honey." This dining room would not have come together the way it did without his help! 
 
Thank you also to all of you who have been checking in weekly to see how my project has been coming along.  I appreciate all of you comments and words of encouragement. 
 
To see more amazing spaces that have been transformed over the last six weeks, visit here. 
As always, feel free to leave a comment or ask questions in the comments section below.


Need help creating a home you love? Contact me about our design services.